

Memory Capture
Memory capture images a running VM’s physical memory (RAM) and saves it as a raw file on your lab’s StudentShare. Use it for memory forensics: capture a machine while something is happening on it, then analyze the image with your own tools.
You can capture memory from any VM you can open, in your own lab or one a teammate shared with you. Guest link visitors can’t, and memory capture is never available in certification tests.
The VM must be running, and so must the lab’s StudentShare machine, because that’s where the image is saved.
Capturing Memory
Section titled “Capturing Memory”- Open View All Scenario VMs and hover the VM’s row. Its actions slide out on the right.
- Click the memory chip icon (Capture memory). Capture Memory opens for that VM.
- Read Heads Up Before You Capture:
- The VM pauses while its memory is imaged. This can take several minutes, and the file can be larger than the VM’s RAM.
- Live memory contains secrets. Passwords, tokens, and encryption keys in RAM become readable by everyone with access to the scenario’s StudentShare.
- Tick I understand the VM will pause and the artifact becomes scenario-wide.
- Click Capture Memory.
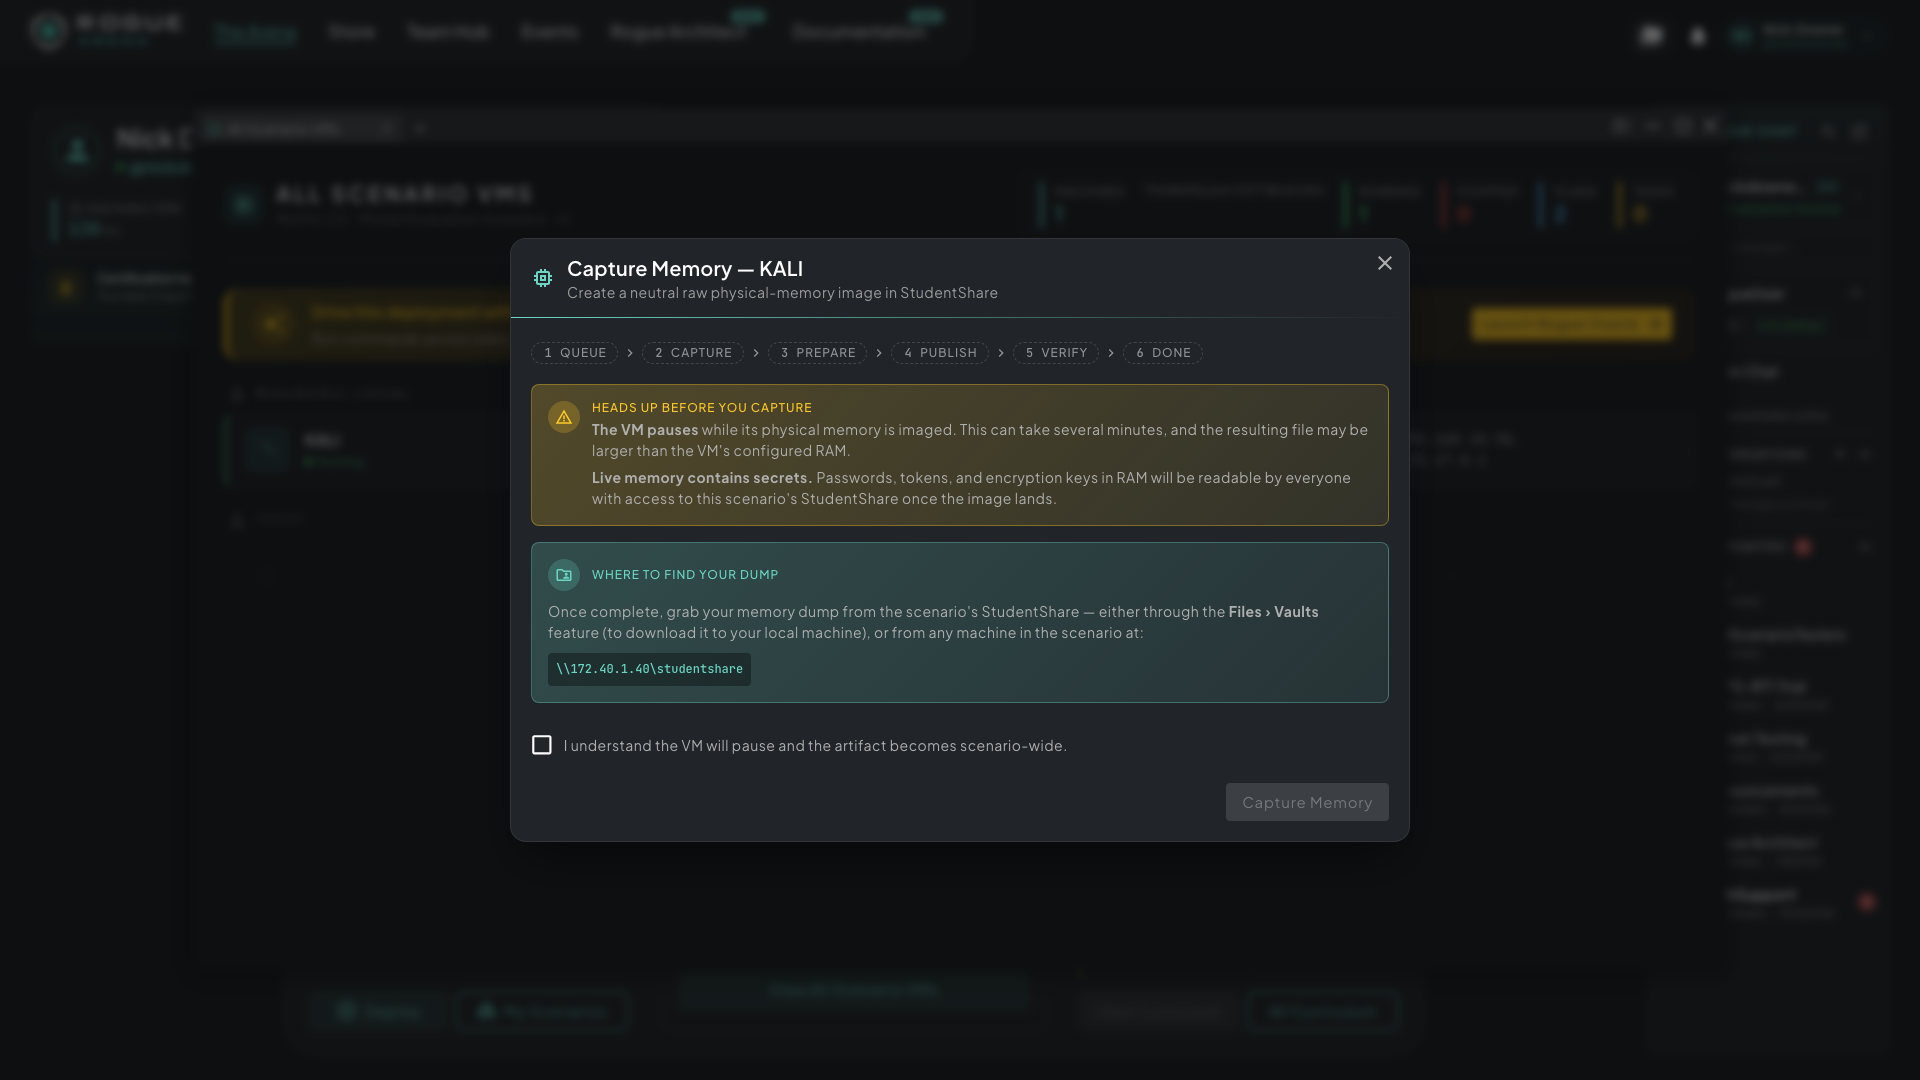 Capture Memory. Read the warning, tick the box, and start the capture.
While It Runs
Section titled “While It Runs”The window follows the job through Queue, Capture, Prepare, Publish, Verify, and Done, with progress bars for the capture and for the copy to the StudentShare. The last step checks the file’s SHA-256 checksum by reading the whole image again, so on a large capture the bar can sit still for several minutes.
The capture keeps going if you close the window or reload the page. Click the memory chip icon again to check on it.
Until it finishes, you can’t power that VM on or off or take or revert its snapshots. Shutting the lab down, or the lab stopping because its VM hours ran out, ends the capture as failed.
Getting the Image
Section titled “Getting the Image”When the capture is done, the window shows Memory Dump Ready with the file name, its size, and its path under Grab this image at:. Copy the path, then either:
- Open it from a machine in the scenario, for example by pasting the path into File Explorer on Windows. The StudentShare is at
\\172.40.1.40\studentshare, and images are saved undermemory-dumps, in a folder named after the VM. - Download it to your computer through Files › Vaults. See File Upload & Download.
Each image is a .raw file, saved with a .sha256 checksum file and a .manifest.json file beside it. Click Capture Again to take another.
If a Capture Fails
Section titled “If a Capture Fails”The window shows Capture Failed with the reason. If Retry Delivery is offered, click it to try the same job again. Otherwise, click New Capture to start over.