

Custom VM Images
A custom VM image lets you bring your own virtual machine into Rogue Architect. Export the VM from your hypervisor and upload it. Rogue Arena converts the disk, validates it, and boot-tests it in an isolated sandbox. When the image is ready, it appears in the canvas Machines sidebar next to the built-in templates.
Who Can Upload
Section titled “Who Can Upload”- Permission: uploading needs the Custom Image Upload permission, which only Rogue Labs grants. Without it, Upload Custom OVF is greyed out. Email [email protected] to request access. See Team Permissions.
- Team: custom images belong to a team, so you need to be on one to upload.
- Lab time: the import boot-tests your image on lab hardware, so starting it needs a Lab plan or VM hours. If you have none, the upload window says why the import can’t start. See VM Hours and Lab Plans.
Uploaded images count toward your team’s storage limit.
Opening Custom VM Images
Section titled “Opening Custom VM Images”On the Rogue Architect home screen, click Custom VM Images under Content in the sidebar. The page lists My Custom Images (images you uploaded) and Team Images (images your teammates shared), with search and sort controls.
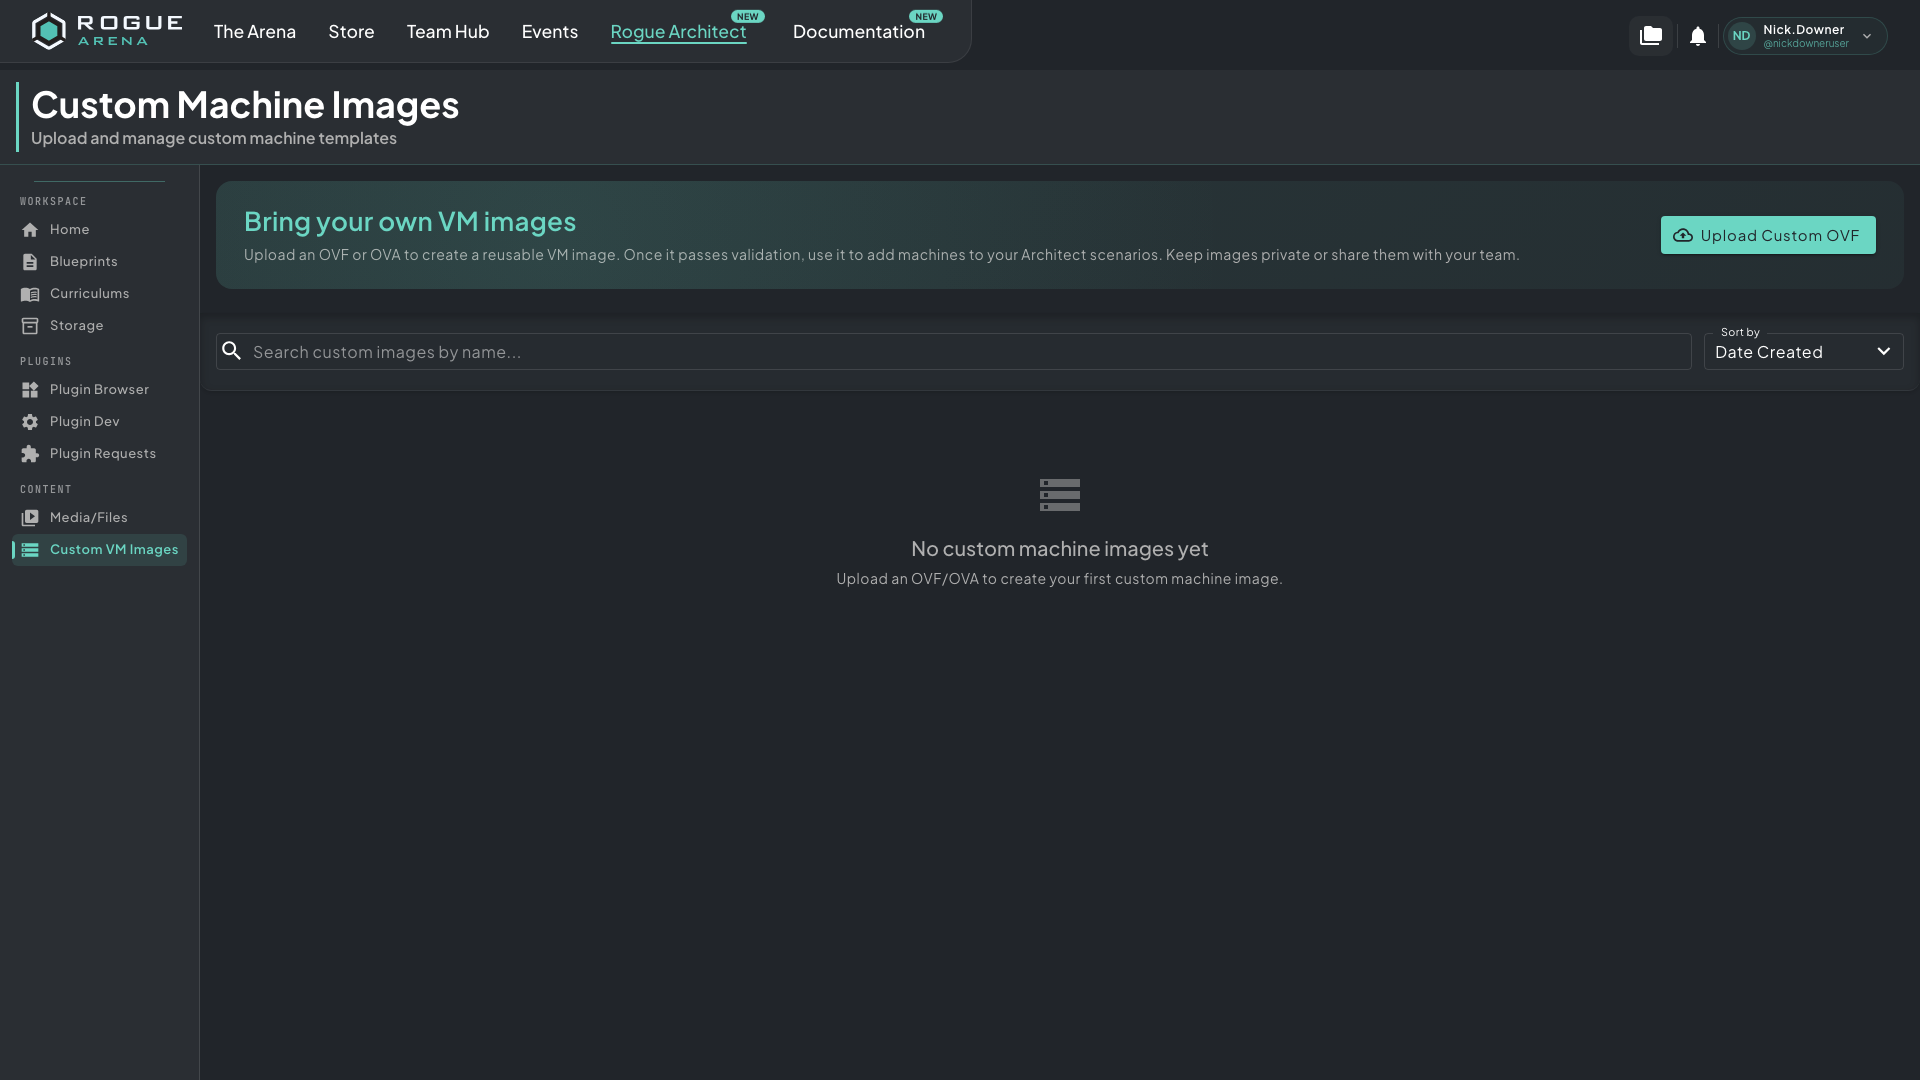 The Custom Machine Images page. Each card shows the image’s operating system, status, and owner.
Preparing Your Image
Section titled “Preparing Your Image”Export the VM as a single .ova file, which bundles the OVF descriptor and its disks into one file. The upload accepts .ova and .ovf files.
- One file can be up to 150 GiB.
- You can have up to two image uploads in progress at once.
- You don’t need to install anything in the VM first. Rogue Architect adds the dependencies it needs the first time you deploy the image in Architect.
Uploading an Image
Section titled “Uploading an Image”- Click Upload Custom OVF. The Upload Custom Machine Image window opens on its first step, Overview.
- Click Continue. On Image Details, enter:
- Name: up to 63 letters, numbers, and hyphens, starting with a letter or number.
- Description (optional).
- Operating System: this only sets the image’s logo. Pick the closest match.
- Click Continue. On Upload, drop your
.ovaor.ovffile on the drop zone, or click it to browse. - Click Upload Image.
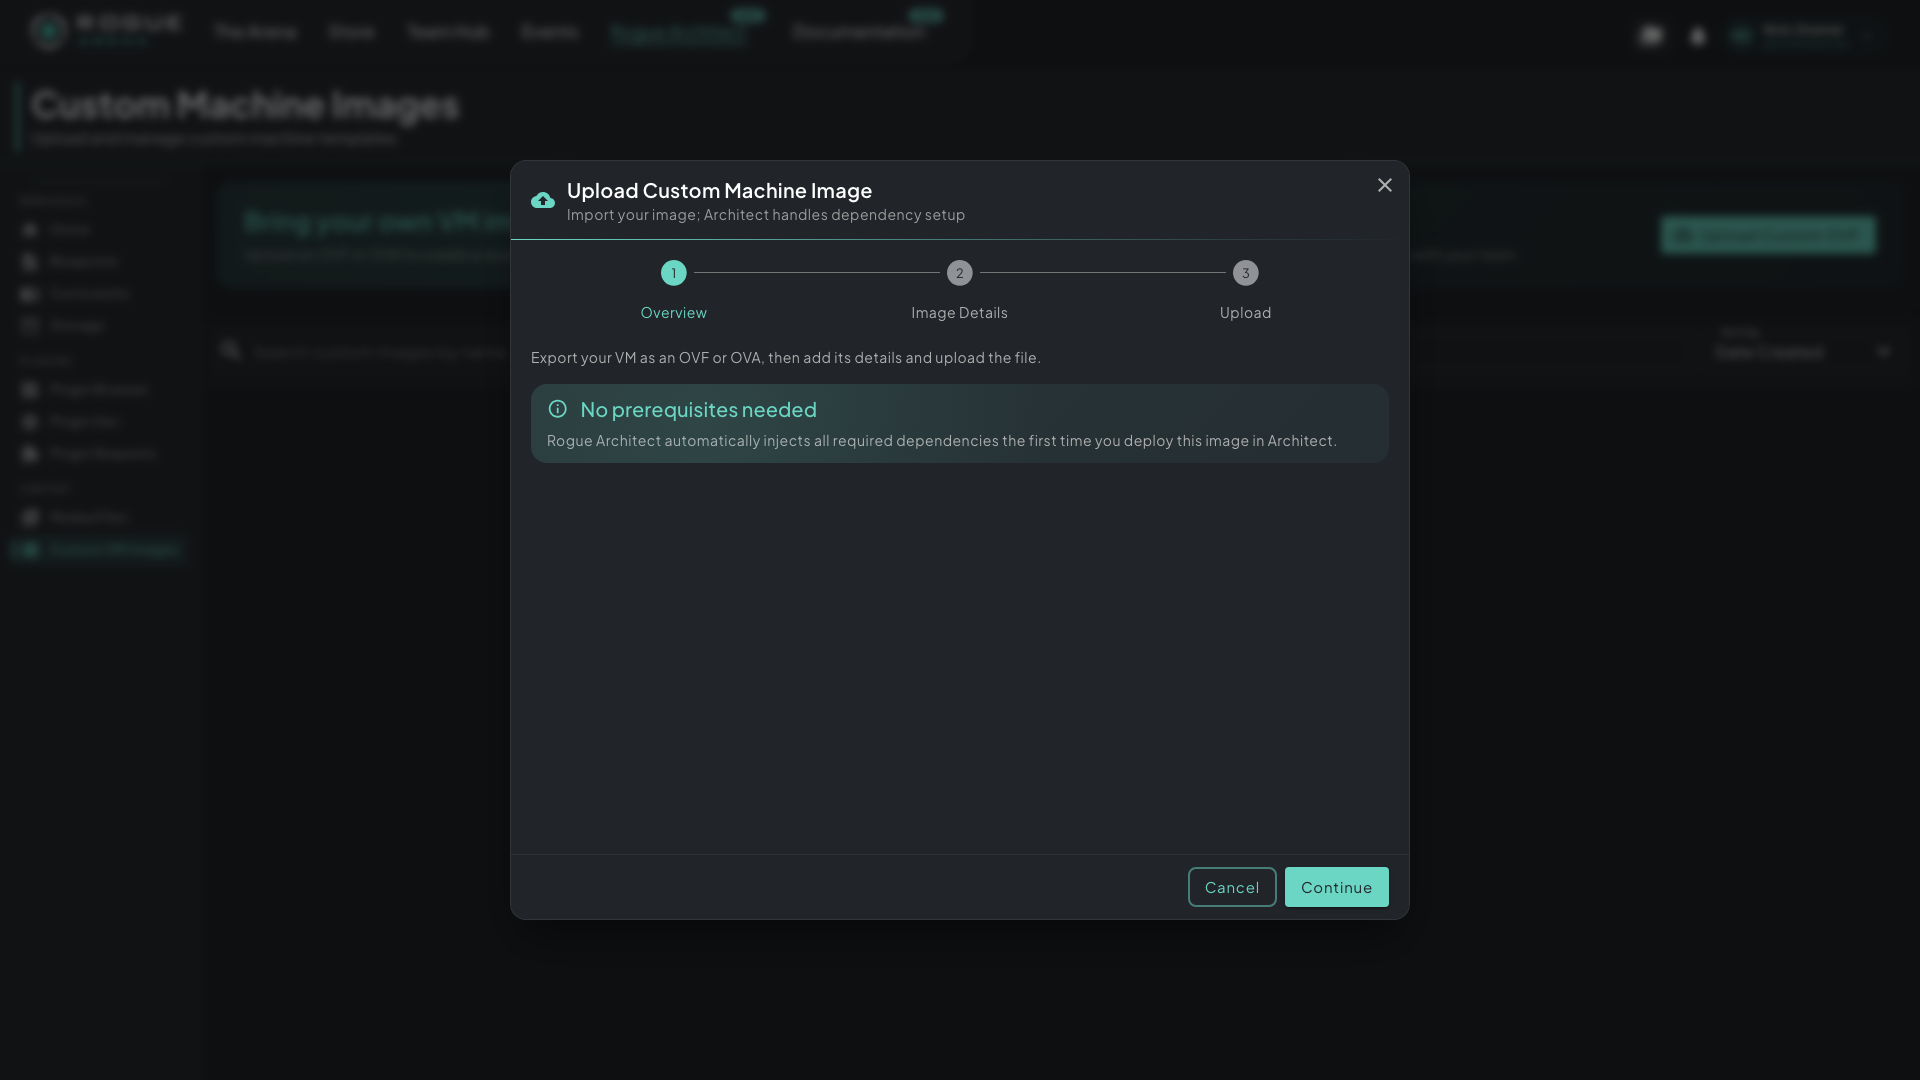 The three-step upload window. The last step shows the image you’re creating and the drop zone for the exported file.
Keep the window open while the file uploads. To stop, click Cancel Upload.
Import Progress
Section titled “Import Progress”When the upload finishes, the import starts and the window lists each stage: Queued, Transferring, Parsing OVF, Converting Disk, Validating, Boot Testing, Landing, Registering, and Ready. A large image can take hours. You can close the window and follow progress on the image’s card, which updates on its own.
If the import ends as Failed or Rejected, the window shows the reason and a Validation Report listing each check. Fix the VM, then click Retry, or delete the image and upload a new export.
To stop an import that’s running, click Cancel Import. The work done so far is discarded, and your uploaded file is kept, so you can retry the import later or delete it.
Managing an Image
Section titled “Managing an Image”Click an image’s card to open it. The Details tab has:
- Image details: the owner can change the Image name and Description. Changes save when you leave each field.
- Image status: the import stage, or whether the image is ready to use in Architect.
- Configured plays: Pre plays run before a scenario’s provisioning plays, and Post plays run at the end of the build. Use them to prepare software, settings, or services on every machine built from this image. Click either one to open the Plays tab and add plugins.
- Team sharing: turn on Share image with team to list the image under Team Images for your teammates. Teammates who also have Custom Image Upload can then configure its plays.
The buttons at the bottom depend on the image and your role:
- Retry Pipeline restarts a failed, rejected, or cancelled import.
- Cancel Import stops a running import.
- Delete removes the image, its source file, and its built template. You can’t delete an image that canvas machines or active builds still use; remove those first.
- Transfer Ownership gives the image to a teammate. Lab Admins and Rogue Arena staff see this button.
Using an Image on the Canvas
Section titled “Using an Image on the Canvas”Once an image is Ready, it appears in the canvas Machines sidebar for you and your team, marked with a Custom chip. Drag it into a VLAN like any other machine, then add plugins as usual. See Adding Machines.