

Hosting an Event
An event gives a group of people their own running copy of a scenario for a set time. You choose the dates and how many deployments you need, assign the lab, and share a join link or QR code. Attendees register, and their VMs open at the start. Attendees don’t need VM hours or a Lab subscription of their own. The host covers access.
Anyone with a Rogue Arena account can host an event by buying capacity. Hosting on Team capacity (your team’s own deployment slots) is limited to your team’s Lab Admins.
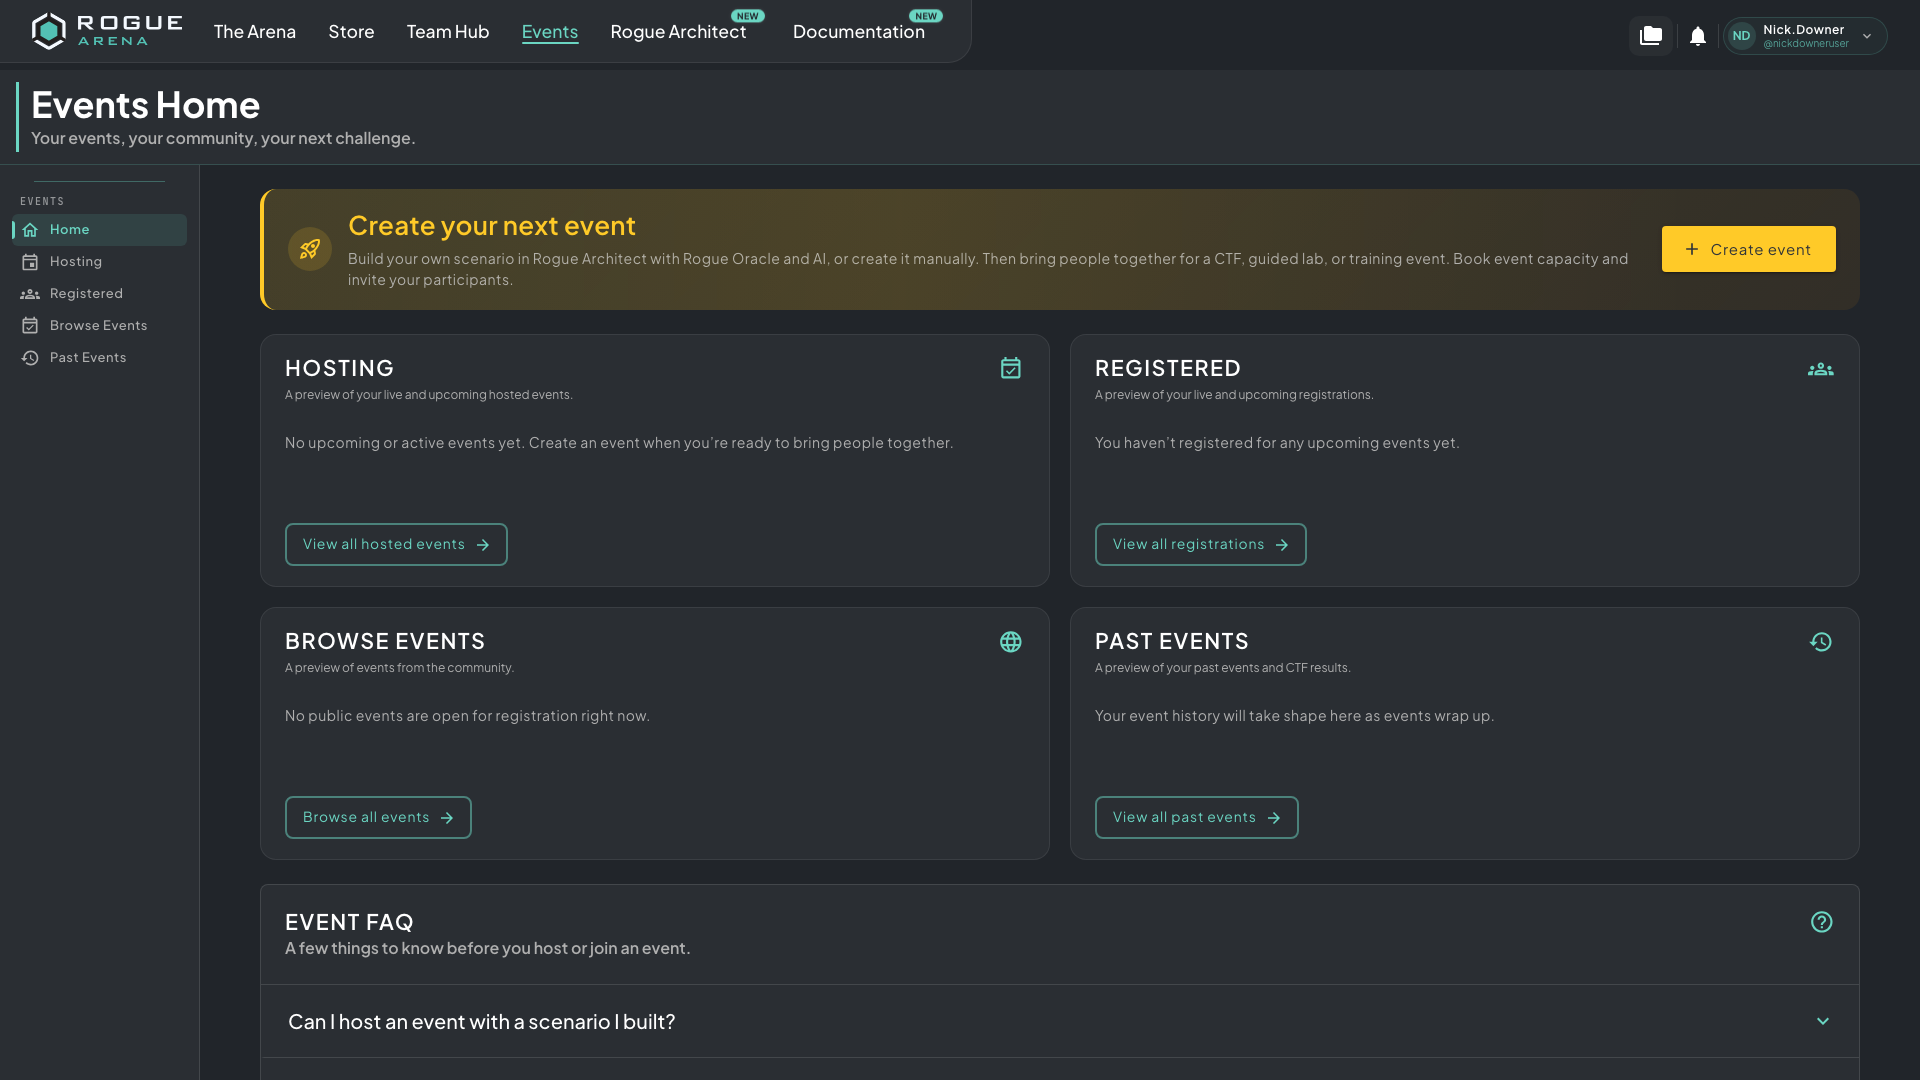 Events home: your hosted events, your registrations, public events, and past results, with the Event FAQ below.
Creating an Event
Section titled “Creating an Event”Click Events in the top navigation, then Create event. The form walks you through each step:
- Details: enter an Event name (up to 120 characters) and a Description for attendees.
- Hosting: choose Team capacity or Buy capacity. See Choosing Capacity below.
- Schedule: pick the start date and time, a Display time zone, and the Event duration (1 to 4 days). With bought capacity, the date picker shows which days still have capacity.
- Attendees (Teams on team capacity): set how many deployments you need and how many seats each one has.
- Review: check the summary. On team capacity, click Create event. On bought capacity, click Continue to checkout.
- Checkout (bought capacity only): pay or request a sponsorship. See Paying at Checkout.
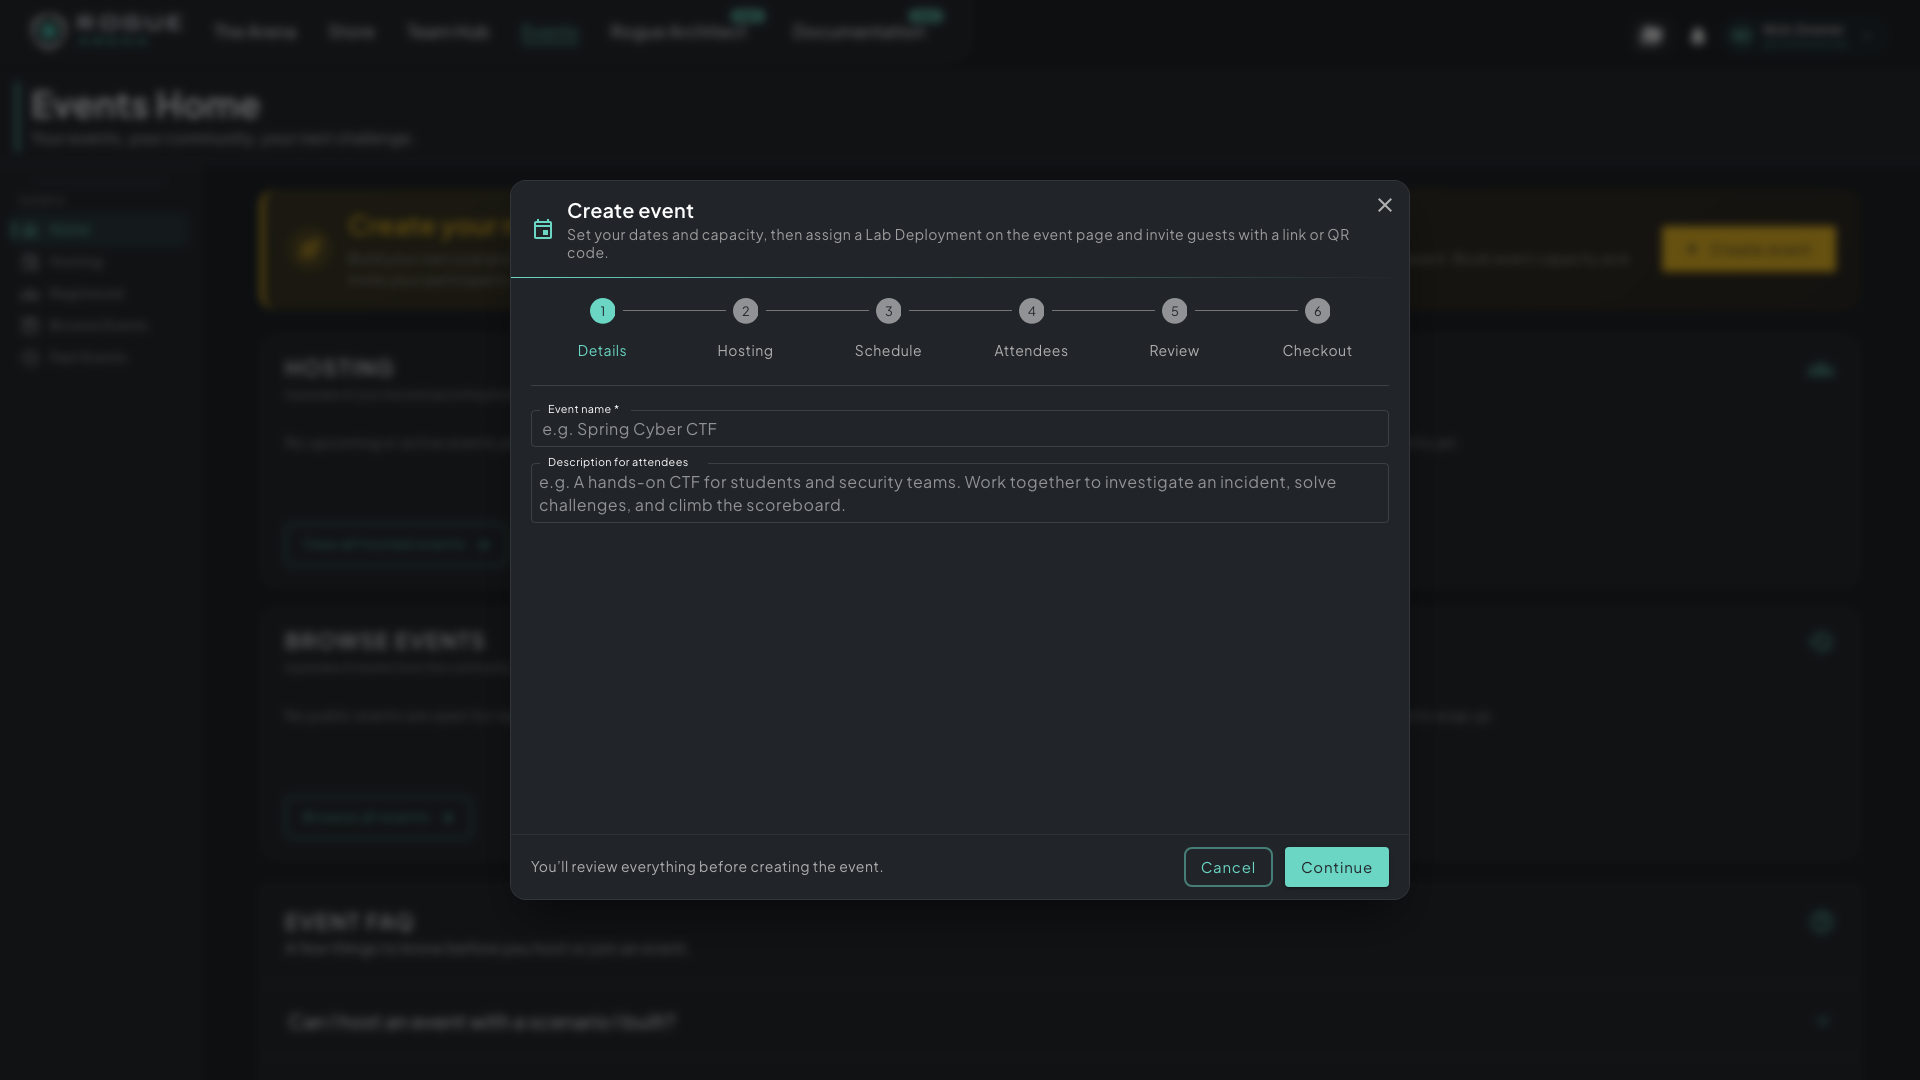 Create event: details, hosting capacity, schedule, attendees, and review, then checkout for bought capacity.
Once the event is created, its page opens on the Setup tab so you can assign the lab.
Choosing Capacity
Section titled “Choosing Capacity”| Team capacity | Buy capacity | |
|---|---|---|
| Who can use it | Your team’s Lab Admins | Anyone |
| What it uses | Your team’s deployment slots | Deployments you pay for by the day |
| Earliest start | Any time in the future | At least 48 hours from now |
| Is it guaranteed? | No. Slots are taken when deployments are prepared, 48 hours before the start | Yes, reserved at checkout |
| Prep access for the host | Not included | 24/7 lab access from 14 days before the event until one day after it ends |
With team capacity, if your team’s pool is full when deployments are prepared, the affected team shows why. You can free up slots or switch to bought capacity.
Deployments and Seats
Section titled “Deployments and Seats”Each deployment is a separate copy of your scenario, with its own VMs and networks, shared by one team.
- Deployments / Teams (bought capacity): how many copies to run, from 1 to 100. For team play, use one deployment per team.
- Seats per deployment: how many attendees can share one deployment at a time, up to 10. Choose 1 to give every attendee their own lab.
For example, 2 deployments with 5 seats each host 10 attendees at a time. You pay for deployments by the day; attendees cost nothing extra.
On team capacity, set the number of Teams (1 to 100, named “Team 1” onward) or paste your own team names one per line, then choose Seats per team (up to 10).
Paying at Checkout
Section titled “Paying at Checkout”Checkout prices your booking and asks how you want to book:
- Card: click Pay … on Stripe (the button shows the amount) and pay on Stripe’s secure checkout. Your dates are held while checkout is open.
- Rogue Rewards: pay with your Rogue Rewards points. Checkout shows your balance and the points due.
- Sponsorship: ask Rogue Labs to cover the event. Add an optional Note for staff about who the event is for and why, then click Send request. Capacity isn’t reserved while staff review it. If they approve, your booking is confirmed with nothing to pay.
Nothing is booked or charged until your payment or sponsorship request goes through. Registration opens once the booking is confirmed.
Click Cancellation policy at checkout to see your automatic refund deadline. Cancel before then (when host preparation access opens, 14 days before the start) and a card payment goes back to the card and points go back to your balance. After the deadline, cancelling ends access and staff review any refund. Changing the dates doesn’t move the deadline. To cancel a bought event, click Cancel event on its Billing tab.
Setting Up the Lab
Section titled “Setting Up the Lab”On the event’s Setup tab:
- Click Browse scenarios, pick a scenario, click Next, choose the published Version to deploy, and click Finish.
- Click Choose VMs to pick the guest VMs. Each attendee gets their own copy of the VMs you select (up to 2). Every other VM is shared by the team. Select none and everyone shares the team’s lab.
- Click Save setup.
You can change the lab and guest VMs freely until the setup locks, 48 hours before the start. At the lock, the platform deploys every team’s lab automatically. If no lab is assigned 72 hours before the start, you get a reminder email.
Scoring
Section titled “Scoring”An event scores automatically when its version’s curriculum is a CTF Node Map with Points Economy turned on. The event then gets a Scoreboard tab. Courses, workshops, and guided labs run fine without scoring. To build a scored curriculum, see Building Curriculum.
Inviting Attendees
Section titled “Inviting Attendees”The Overview tab holds the invitation:
- Join link: hover the field and click the copy icon.
- QR code: attendees scan it to open the join link. Click Download QR for an image with the event name and QR code, ready for a slide or a flyer.
- Replace join code: issues a new link and QR code. The old ones stop working.
Attendees sign in or create an account to register. See Joining an Event for what they see.
Your event doesn’t appear on Browse Events on its own. Only Rogue Labs staff can list an event there.
The Event Page
Section titled “The Event Page”Open an event from Events > Hosting. Its tabs:
| Tab | What it’s for |
|---|---|
| Overview | Join link, QR code, and invitation download |
| Setup | The scenario, version, and guest VMs |
| Teams | Team names and seat counts. On team capacity, Add teams or remove planned ones |
| Registrations | Everyone who registered, and which team they’re on |
| Deployments | Each team’s deployment and its state, plus capacity controls |
| Billing | Bought capacity only: the order, payment, and Cancel event |
| Scoreboard | Only when the version scores: standings, Board settings, and Pause scoring |
A booking still at checkout shows only Overview and Billing until the payment goes through. Click the pencil icon (Edit event) next to the event name to change its name, description, or date and time. On bought capacity, a date change shows its cost for review before it’s saved.
Placing Attendees on Teams
Section titled “Placing Attendees on Teams”On the Registrations tab, drag attendees between teams, or use the three-dot menu for Move to team…, Remove attendee from event, and Readmit attendee. Anyone you leave unassigned is placed automatically on the first team with a free seat once the deployments are ready. Their VMs still open at the start.
Moving an attendee during a live event replaces their workspace: they leave their old team’s deployment and join the new one. Team names appear on the scoreboard. Rename a team with the pencil icon on the Teams tab.
During the Event
Section titled “During the Event”At the start, attendees with a seat go straight into their team’s deployment.
On the Deployments tab:
- On bought capacity, click Open deployment on a team’s row to open its lab yourself. Click Add deployments if more people turn up than you have seats. New deployments are priced for the days left and paid the same way as the booking.
- On team capacity, each team’s deployment has its own card with power and snapshot actions. Turn off all, Turn on all, and Re-deploy failed act on every team at once.
Ending an Event
Section titled “Ending an Event”Events end on their own at the scheduled time. To end one early, click End event. Its deployments are torn down and scoring stops. The event moves to Past Events with its teams, registrations, and final scoreboard. Click Archive to hide it from Past Events; turn on Show archived to see it again.
The scoreboard lives at its own /board/ link. Click Open board to see it. Who can view it depends on Who can see the scoreboard in Board settings: Host only, Participants (the default), Team, or Public (anyone with the link, such as a booth TV).