Phase 5: Publish
Publishing is intentionally lightweight: fill out a changelog for the version, then set visibility. That’s it.
Step 1: Write a Changelog
Section titled “Step 1: Write a Changelog”Click Changelog in the top-right control panel and note what changed in this version. Changelogs let students see what’s new, help co-builders understand modifications, and give your future self a paper trail.
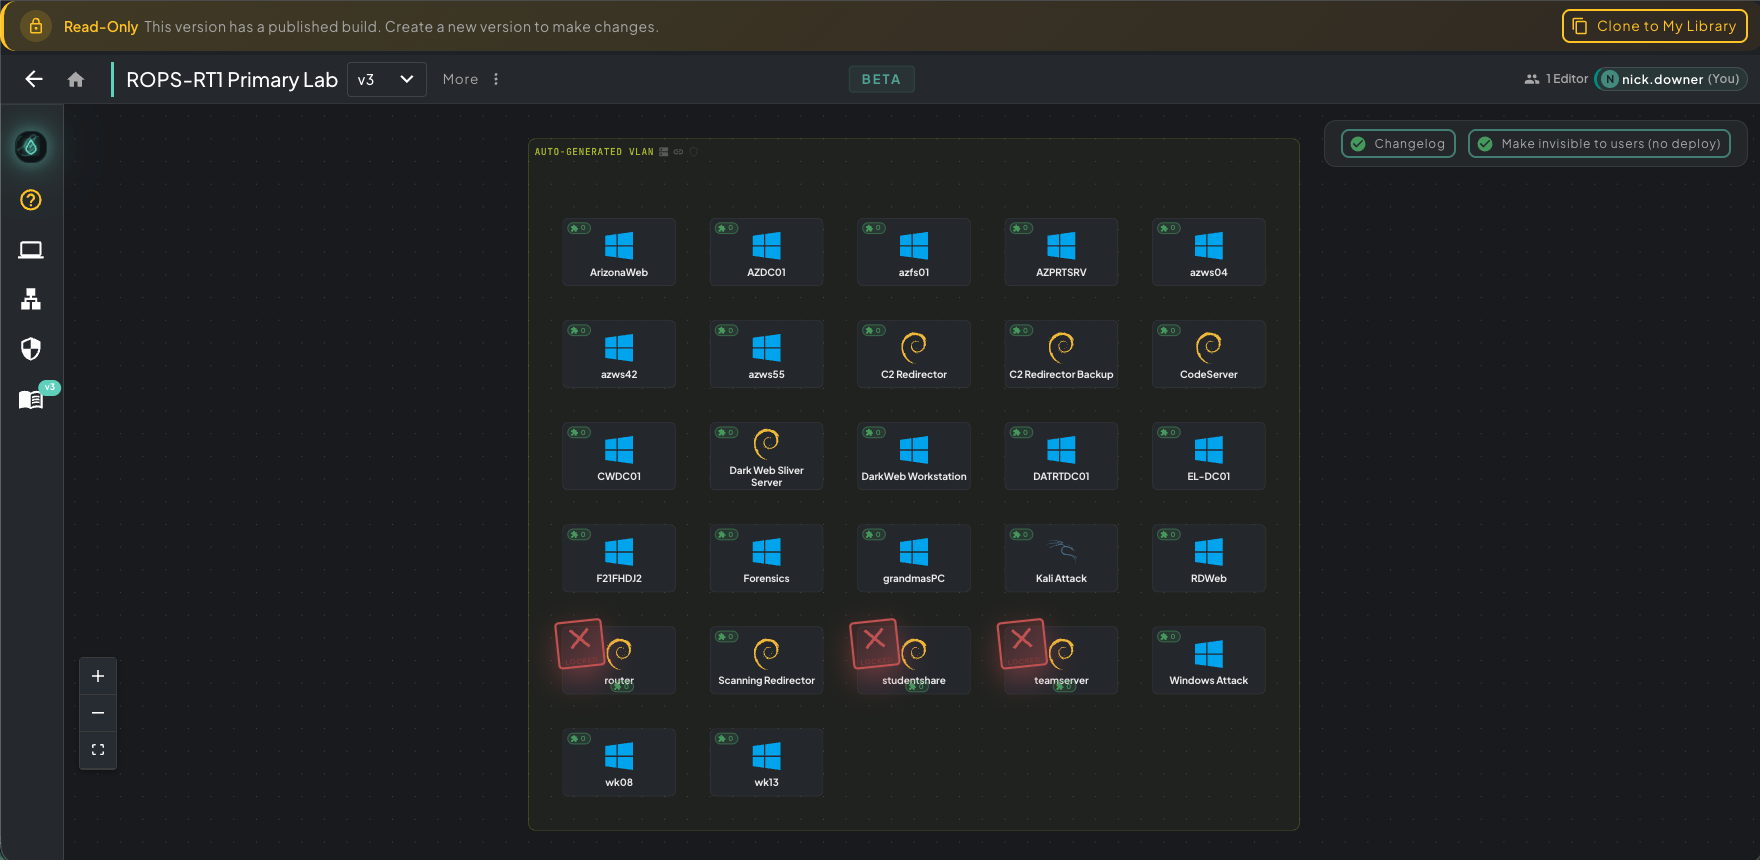 Published build view — the read-only banner up top tells you this version is locked, and the Changelog / Make Invisible controls live in the top-right.
Each canvas version gets its own changelog entry, building a history of your scenario’s evolution.
Step 2: Set Visibility
Section titled “Step 2: Set Visibility”Use the visibility toggle in the top-right to control who can deploy this build.
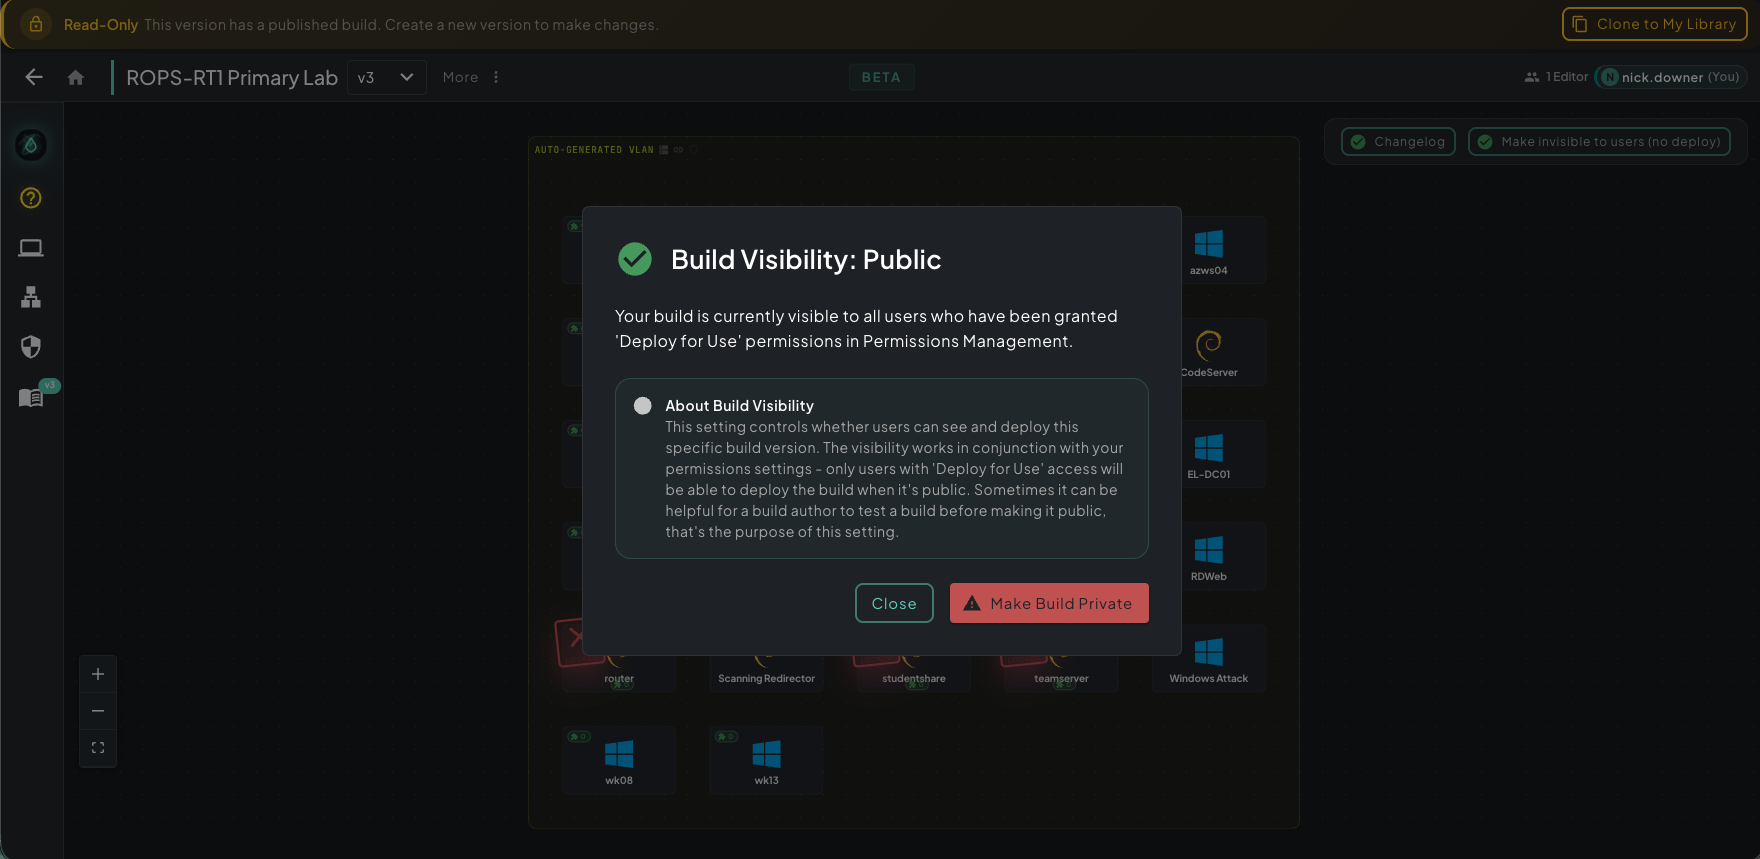 Build Visibility modal — toggle public/private and read the explanation in-line before flipping it.
- Public — anyone with the Deploy for Use permission can find and deploy this scenario, just like any other standard scenario in the catalog.
- Private (not public) — only editors of the scenario can deploy it. Useful as a final-check pass: deploy your own build, verify it acts like a normal scenario from a student’s perspective, then flip it public when you’re happy.
You can toggle visibility at any time. Making a public scenario private removes it from the catalog without losing the build.
Trusted Builder
Section titled “Trusted Builder”To publish scenarios to the broader Rogue Arena community (beyond your own team), you need the Trusted Builder endorsement. Apply from your user profile — no prior experience required. A Rogue Labs staff member will review your application.